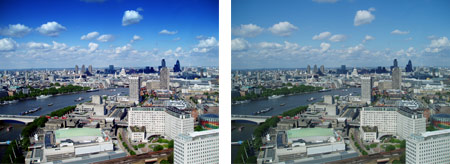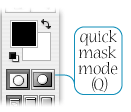
 The Quick Mask Mode is a much overlooked method for making selections. In particular, “burning” or darkening skies more at the top of the image than at the horizon. To do this, go into Quick Mask Mode, either by clicking on the icon at the bottom of the tool bar or by pressing Q. Immediately, the foreground and background colours will go to the black and white default.
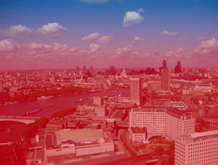
 Select the Gradient Tool (G), make sure it is a linear gradient and black to white, and draw a verticle line from the horizon upwards. The picture will then look something like the one on the right. Don’t worry about the red, a 50% opacity is the default setting of the masked area. To make absolutely sure what you have selected switch back to Standard Mode (Q) and you will see those familar “marching ants”. Command -H to hide those destracting insects and Command -M for curves of whatever you prefer to increase contrast, colour or saturation to the sky.
Because this selection has a lovely seemless gradient border to it, you can now use it for the rest of the picture. Command-Shift -I to inverse the selection and you have the rest of the picture selected. For my picture, the London landscape at the bottom was selected, then gradually selected less and less upwards towards the horizon and the sky deselected. Adjust this selection accordingly to create a nicer more contrasty image.

I tried this on a landscape pic that a customer supplied. The image and sky was of poor quality and the colour was saturated. Your idea worked and gave a good balance. Good Stuff, Thanks…
Thanks, Steve, this is a good technique for amending skies.